
You can make a TikTok video in minutes by planning a simple idea, filming with good lighting and steady framing, then using TikTok’s or a free editor to trim clips, add music, and apply effects. Keep your concept focused on one hook — a funny moment, quick tutorial, or visual reveal — to grab attention in the first few seconds.

Film on your phone with natural light, a tripod or steady surface, and clear audio; use TikTok’s templates or tools like Canva/Clipchamp to edit, add trending sounds, captions, and transitions that match the pace of your content. A short, well-edited clip with a strong opening and relevant audio will perform better than a long, unfocused video.
Plan a goal for each post, use captions and hashtags to reach your audience, and post when your followers are active to boost engagement.
Key Takeaways
- Start with one clear idea and a strong opening.
- Use steady filming, clear audio, and simple edits.
- Add relevant music, captions, and timely posting for visibility.
Setting Up for Success on TikTok

Get your account structure, profile, and content strategy aligned so your videos reach the right viewers, perform well on the For You Page, and support any goals like brand growth or creator monetization.
Choosing the Right Account Type
Decide between a Personal, Creator, or Business account based on your goals.
- Personal: best if you want casual posting and privacy controls.
- Creator: optimized for influencer features—access to creator tools, music analytics, and simplified inbox filters.
- Business (TikTok for Business): unlocks advanced analytics, ad tools, and commercial music restrictions.
Switch in Settings > Manage account; changing to Business limits some trending commercial music but grants promotional features.
If you plan to earn from UGC (user-generated content) or brand deals, start with Creator or Business to access performance insights and monetization programs.
Keep contact info and a verified email/phone on file to recover the account and enable creator payouts.
Optimizing Your Profile
Use a searchable username and a clear display name that matches your niche or brand.
Write a concise bio showing what viewers get in 1–2 lines—include keywords like “recipes,” “fitness tips,” or “tech reviews.” Add a call-to-action (e.g., “Watch weekly hacks” or “DM for collabs”).
Choose a high-resolution profile photo or logo sized for a circular crop.
Link out using the Website field or TikTok’s Link-in-Bio feature if available to drive traffic to a shop, portfolio, or other social profiles.
Enable business/contact options if you want brands to reach you.
Pin 1–3 representative videos to showcase your best content and signal your niche to the algorithm and new visitors.
Understanding the TikTok Algorithm
The algorithm ranks content for the For You Page using signals such as watch time, replays, likes, comments, shares, and completion rate.
User signals (interaction history, device/location) and video information (captions, hashtags, sounds) also influence distribution.
Prioritize early retention—hook viewers in the first 1–3 seconds and aim for a high completion rate.
Use trending sounds and relevant hashtags sparingly; match them to your content to avoid misleading signals.
Post consistently at times when your audience is active; check analytics for peak hours.
Engage with comments and other creators to boost interaction signals.
For brand campaigns or UGC, clearly mark sponsored content and use Business tools to access targeting and ad formats that work with the native algorithm.
Planning Your TikTok Video
Decide who you want to reach, what reaction you want to trigger, and which trend or format will make that reaction immediate and measurable.
Identifying Your Audience and Niche
Pin down a specific audience segment: for example, busy home cooks aged 25–40, college students who love short comedy, or dancers who follow viral choreography.
List three audience needs or desires you can meet (recipe shortcuts, laugh-out-loud relatability, easy step routines). Use comment threads on similar TikToks to see common questions and complaints.
Choose one content niche to start—cooking videos, comedy sketches, or trend-driven edits—then map five content ideas that fit that niche and require minimal setup.
Track metrics that matter to that audience: saves and shares for recipes, replays and comments for comedy, duets for choreography. These tell you whether you’re resonating.
Researching Trending Challenges and Music
Scan TikTok’s Discover tab and the For You feed daily for recurring challenges and sounds.
Save promising sounds to a playlist and note timestamps or parts of a track that match your idea (e.g., 0:05–0:11 for a punchline beat). If a trend suits your niche—like a cooking hack set to a viral hook—adapt it rather than copy it.
Check the challenge’s typical structure: intro, transformation, punchline, call-to-action. Write down common hashtags and sample captions used in high-engagement posts.
Verify music rights in-app and prefer built-in sounds to avoid removals. Plan whether you’ll “jump on” a trend directly or remix it (add a comedic twist or a practical cooking step) to stand out.
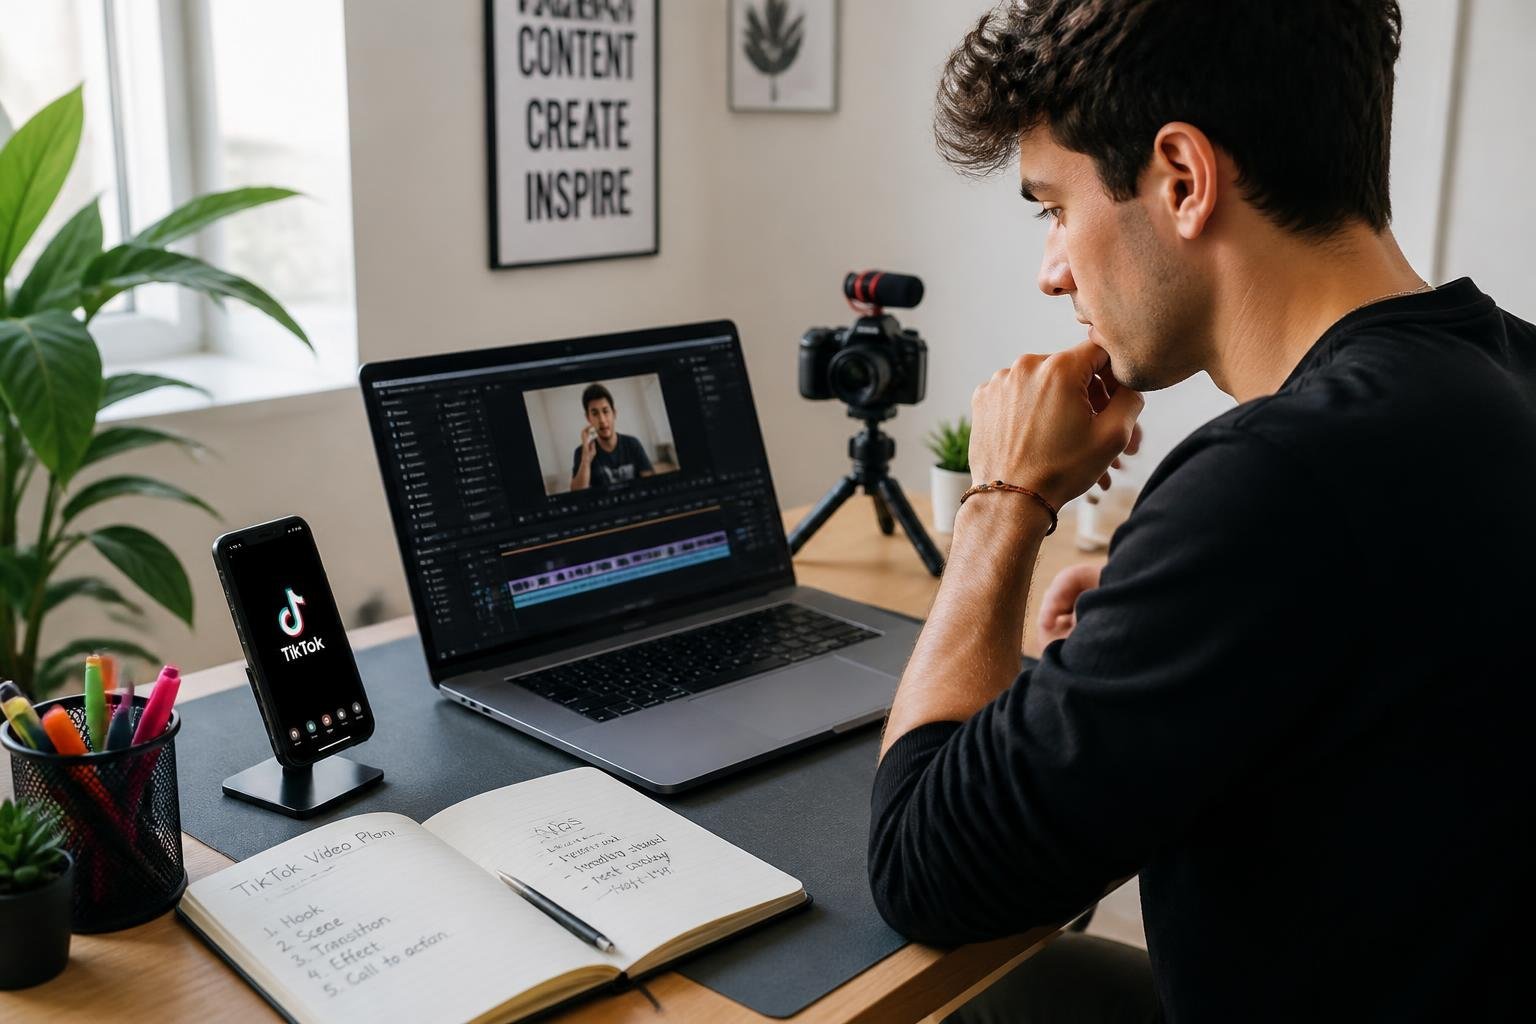
Storyboarding and Scripting
Create a 4–6 shot storyboard on paper or in your phone notes. Label each shot with duration, camera angle, action, and the exact audio cue.
For a 15–30 second comedy sketch, break it into setup (3–5s), escalation (5–10s), and punchline (2–4s). For cooking videos, map steps: ingredient close-up, quick prep, reveal, plating, and final tip.
Write a tight script with exact lines and on-screen captions. Keep spoken lines under 10 words per clip to preserve pacing.
Add production notes: props, lighting (soft front light), location, and estimated edit cuts. This reduces retakes and keeps your final TikTok crisp and watchable.
Filming and Creating Quality Content
Plan your shot choices, lighting, and on-screen elements so viewers understand your message in the first three seconds. Pick a workflow—record in TikTok or import edited footage—that matches your speed, control needs, and whether you’ll use green screen or animated text.
Recording in the App vs. Importing Footage
Recording inside TikTok gives you instant access to sounds, effects, timers, speed controls, and the Green Screen effect. Use the in-app recorder when you need quick edits, direct syncing to a trending sound, or precise clip trimming without exporting. It also keeps captions and stickers aligned to TikTok’s timeline.
Import footage when you want higher image quality, multicam edits, or advanced color grading from apps like CapCut or Premiere Rush. Export with 1080p H.264 and 25–60 fps to avoid platform compression issues. For faceless videos, import close-up B-roll, screen recordings, or voiceover tracks and layer them in your editor before uploading.
Lighting, Angles, and Green Screen Effects
Good lighting makes even basic footage look professional. Use soft, diffused light from a ring light or window; position the key light at a 45° angle and add a fill light to remove harsh shadows. For outdoor shoots, film during golden hour (early morning or late afternoon) for warm, even light.
Choose camera angles that support the story: eye-level for direct address, high angles for product reveals, and close-ups for detail. Keep your phone steady with a tripod and shoot vertical (9:16) unless you plan to crop.
Use TikTok’s Green Screen or a physical green backdrop for clean composites. For the digital effect, ensure even green illumination and avoid green clothing or reflective props. If importing, key the green in your editor and export clean alpha-channel composites if supported.
Incorporating Animated Text and Stickers
Animated text increases retention when timed with your narration or beats. Use bold, high-contrast fonts and place text within the top or bottom third to avoid TikTok UI overlays. Animate text entry using simple motion (slide, fade, typewriter) and keep each line on screen long enough to read—typically 1.5–3 seconds per short phrase.
Stickers and GIFs can emphasize key points or add personality. Limit sticker count to one or two per shot to avoid clutter. For faceless videos, rely on text, stickers, and sound cues to convey emotions and guide viewer attention.
Quick checklist:
- Use readable font size and color contrast.
- Time animations to audio beats or voiceover pauses.
- Lock captions to specific clips so they move correctly during edits.
- Preview on-device before posting to confirm legibility and placement.
Editing With Online Video Tools
You can quickly trim, add captions, and resize clips for TikTok using either the app’s editor or browser-based tools. Pick the tool that matches your workflow: fast in-app edits, AI-assisted cuts in a browser, or template-driven formatting for consistent branding.
Using TikTok’s Built-In Editor
TikTok’s editor lets you edit videos directly on your phone without exporting files. Use the Trim and Split controls to cut clips to the ideal length, and apply the 9:16 format automatically when you record or upload.
Tap “Text” to add captions; hold to position them inside the safe zone so UI elements don’t cover important copy. You can also add sounds from TikTok’s library, adjust volume for each clip, and layer effects like slow motion or green screen.
For transitions and filters, browse the Effects and Filters panels before finalizing. Use the Sticker and Overlay options for call-to-action prompts or timestamps. Export and post without leaving the app, which keeps file handling and resizing simple.
Leveraging Free and AI Video Editors
Online editors like Kapwing, Canva, and Clipchamp run in your browser and remove the need for high-end hardware. Upload MP4 or MOV files, then use timeline tools to trim, reorder, or batch-edit multiple videos at once. These platforms often include a TikTok preset that resizes video to 1080×1920 automatically.
AI features speed up editing: use auto-subtitle generators for accurate captions, highlight-finders to create short clips from long footage, or AI B-roll generators to insert supporting visuals. Free plans usually cover basic exports but may add watermarks or limit minutes; upgrade if you need 4K exports or higher auto-subtitle quotas.
Customizing With Video Templates
Templates speed up consistent styling when you create multiple TikToks. Choose a template with a 9:16 TikTok layout, then replace text, swap clips, and apply your Brand Kit (logo, fonts, color palette). This ensures every video aligns with your visual identity without manual setup.
Look for templates that include safe zones and preset caption placements to avoid cropping issues when resized. Use templates for recurring formats—tutorials, product reveals, or challenges—so you can publish faster. Export in MP4, check that overlays remain inside the safe area, and test on a device to confirm the resize and captions display correctly.
Enhancing Videos with Audio and Effects
Good audio choices and the right effects raise production value, clarify message, and increase watch time. Focus on legal, trend-aware music selection, clear voice or generated narration, and beat-precise edits to make your clips feel polished and intentional.
Adding Royalty-Free and Trending Music
Pick a music source before final edits. Use TikTok’s trending sounds library for discoverability, but check the sound’s attribution and usage limits in the app. For wider reuse or monetization, choose licensed royalty-free tracks from services like Epidemic Sound, Artlist, or free libraries (Creative Commons with commercial license).
Match music mood to your content: upbeat for quick tutorials, ambient for product showcases. Keep a 3–10 second instrumental intro or build for transitions so speech doesn’t clash with the start of a chorus.
When adding music, set volume envelopes: lower track under speech and raise it during captions or visual-only moments. Export a version with stems or muted master so you can swap audio for different platforms.
Utilizing Voice Generators and Overlays
Decide if you need a recorded voice or a voice generator. Use voice generators for consistent, multilingual narration or to create character voices; pick providers that allow commercial use and sound natural at your target sample rate. Record human voiceovers with a quiet room and a pop filter for clarity when authenticity matters.
Layer voice using overlays: place short stingers or confirmational tones when you show steps. Use text-to-speech sparingly—mix with real clips or on-screen captions to avoid monotony. Adjust EQ on generated voices to reduce sibilance and add warmth using a low-shelf boost around 100–300 Hz.
Label tracks in your project (Narration, Music, Effects) and export with separate stems if you plan remixing or A/B testing.
Syncing Beats and Creating Engaging Soundscapes
Map key visual cuts to strong beats or transients to create a satisfying rhythm. Scrub the audio waveform to mark beats, then nudge your cut points by 1–3 frames so movement lands precisely on the beat. That small shift increases perceived polish.
Build a soundscape with layered ambient pads, a rhythmic low-end, and occasional high-frequency accents (swooshes, clicks). Keep effects subtle: reduce reverb on dialogue and use sidechain compression where music ducks under speech.
Use a short effects checklist: 1) punch-in on first frame, 2) voice ducking -10 to -18 dB during speech, 3) one signature sound for brand recall. Test on mobile headphones and laptop speakers to ensure mix translates.
Optimizing Engagement and Publishing
Focus on caption clarity, hashtag precision, and prompts that invite viewers to act. Schedule posts when your audience is active and leverage user-generated content to build trust and extend reach.
Writing Compelling Captions and Hashtags
Write captions that state the value in one short sentence and end with a clear call to action (CTA). Use CTAs like “double-tap if you agree,” “follow for part 2,” or “save this for later” to drive specific behaviors.
Use 3–5 targeted hashtags: one niche tag, one trend tag, and one location or audience tag. Avoid stuffing broad tags; they dilute relevance and lower chances of landing on the For You page. Include a branded hashtag for campaigns or TikTok for Business tracking.
If you reference a sound, name it in the caption to help discovery. For tutorials or product demos, add quick timestamps or step labels to make the clip scannable.
Encouraging Interaction Through UGC
Ask viewers to recreate a short clip, duet, or stitch with a clear prompt and easy-to-follow format. Provide simple templates (e.g., “Show your before in 3s, after in 3s”) to lower friction for UGC.
Feature user submissions in your next video and tag the creator to motivate more contributions. For TikTok for Business campaigns, offer incentives like product discounts or shoutouts to increase volume and quality of UGC.
Monitor comments and reply quickly to high-quality posts; pin the best UGC examples to guide future creators. Track UGC performance separately so you can iterate on prompts that consistently generate shares and For You page traction.
Publishing for Maximum Reach
Post when your followers are most active; check TikTok analytics for peak hours and test 3–5 time windows. Maintain a regular cadence—multiple posts per week—or use batching to keep consistent without sacrificing quality.
Optimize video length for retention: keep hooks in the first 1–2 seconds and aim for the shortest cut that communicates your point. Use native captions (closed captions) and full-screen framing to improve watch time and accessibility.
Leverage trending sounds selectively; pair them with original angles to avoid blending in. For paid amplification through TikTok for Business, boost top organic performers rather than untested drafts to maximize ad spend efficiency.
Frequently Asked Questions
You’ll find concise, practical steps for recording, editing, arranging photos and clips, adding and syncing music, placing timed text, and choosing third-party editing apps. Each answer focuses on exact taps, menu names, and quick tips you can apply on your phone.
How do I record and edit a video in the TikTok app on my phone?
Open TikTok and tap the plus (+) button to start a new video. Choose a speed, timer, or effects before you record; tap and hold the red record button or tap it once to start and again to stop.
Use the checkmark to enter the editor. Trim clips by tapping the clip timeline and dragging edges. Add filters, effects, voiceovers, or adjust clip volume from the right-side tool icons; press Next to set captions, privacy, and post options.
How can I make a TikTok using photos instead of video clips?
Tap the plus (+) and then the Upload button to open your gallery. Select Photos and choose multiple images in the order you want them to appear.
Use the Edit or Adjust Duration option to change how long each photo displays. Add transitions, music, or a Ken Burns-style zoom from the effects or edit tools before posting.
How do I combine multiple video clips into one TikTok?
Record multiple clips in one session by repeatedly tapping the record button, or upload several clips via Upload. In the editor, reorder clips by dragging them in the timeline panel.
Trim each clip individually by selecting it and dragging the start/end handles. Use transitions between clips, then finalize volume levels and effects per clip before exporting.
How do I add music and sync it with my clips or photos on TikTok?
Tap Sounds at the bottom of the recording screen to search TikTok’s music library. Tap a track to preview and use it; set the specific segment with the sound waveform editor.
After adding sound, trim clips or change photo durations so key moments align with beat drops or lyrics. Use the Split and Trim tools in the editor to cut clips to exact beats and enable precise sync.
How do I add text, captions, and timed words to a TikTok video?
Tap Text after recording to type your overlay text. Customize font, color, and alignment, then tap the text and choose “Set duration” to time when it appears and disappears on the timeline.
For permanent captions, use Auto Captions in the posting screen or manually add captions as text layers and set durations to match speech. Preview playback to confirm timing before you post.
What are the best apps and tools TikTok creators use to edit their videos?
Many creators use TikTok’s native editor for most tasks: trimming, effects, music, and timed text. For advanced editing, people commonly use CapCut for multi-track timelines and advanced transitions, InShot for simple clip trimming and speed changes, and Adobe Rush or LumaFusion for professional-grade color and audio control.
Use external apps when you need layered audio, keyframe motion, or higher-resolution exports; finish by importing the final file into TikTok for captions, sounds, and posting.